Running the application:
Visit the URL http://localhost:8080/playground2/oauth2.jsp to start the application.
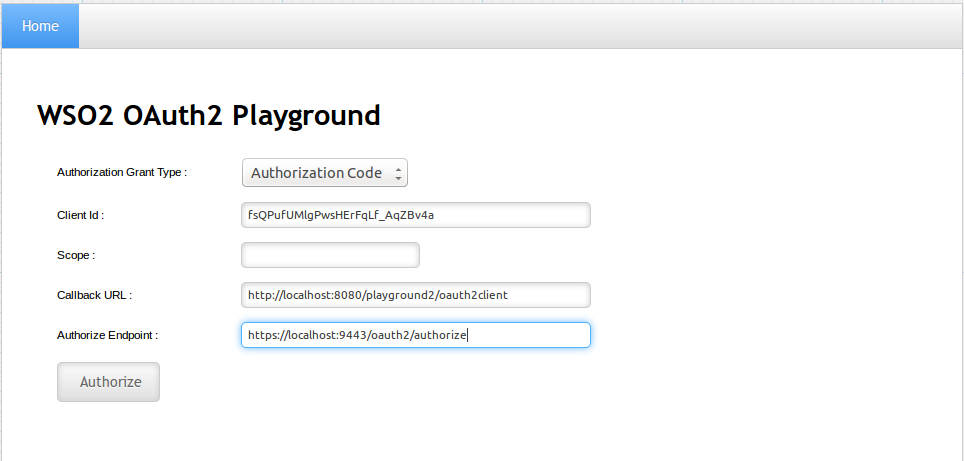
Enter the following details and click Authorize.
Panel bgColor #F0F0F0 borderStyle solid Authorization Grant Type: Authorization Code
Client ID: (the client id received at the application registration)
Callback URL: http://localhost:8080/playground/oauth2client
Authorize Endpoint: https://localhost:9443/oauth2/authorizeLog in with the user credentials.
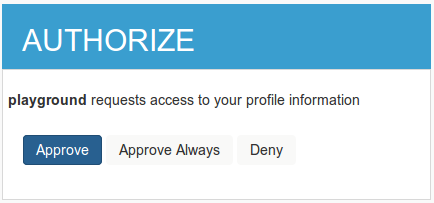
Click Approve to consent to this action.
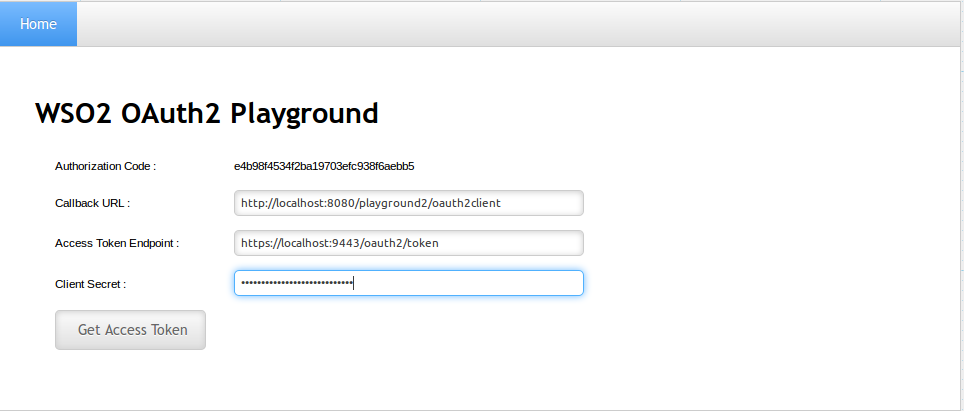
Provide the following details and click on Get Access Token.
Panel titleBGColor #F0F0F0 borderStyle solid Callback URL: http://localhost:8080/playground/oauth2client
Access Token Endpoint: https://localhost:9443/oauth2/token
Client Secret: (client secret received at the application registration)Info If you have configured the service provider in a tenant, you have to add the tenant domain as a query parameter to the access token endpoint.
If the tenant domain is wso2.com, access token endpoint will be as follows.
Panel titleBGColor #F0F0F0 borderStyle solid Access Token Endpoint: https://localhost:9443/oauth2/token?tenantDomain=wso2.com
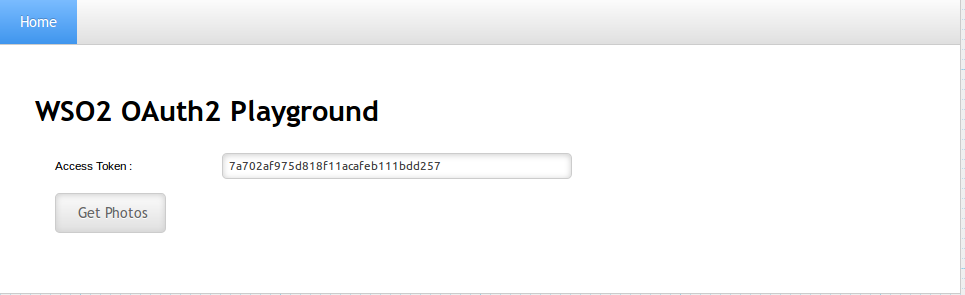
- At this point the application receives the Access Token.
Click on Get Photos.
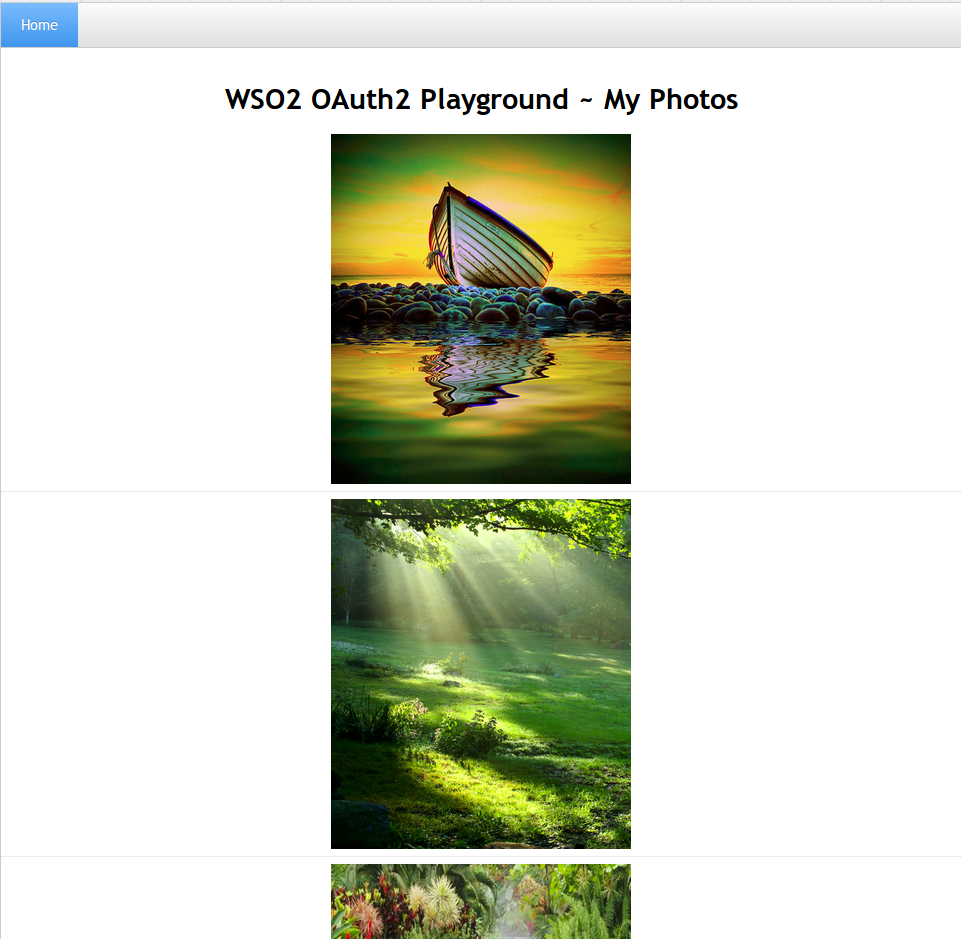
Now you should be able to see the user photos.