This site contains the documentation that is relevant to older WSO2 product versions and offerings.
For the latest WSO2 documentation, visit https://wso2.com/documentation/.
OAuth 2.0 with WSO2 Playground
- Former user (Deleted)
- Former user (Deleted)
- Former user (Deleted)
Configuring OAuth/OpenID Connect
To use this sample, you first need to configure OAuth/OpenID Connect for a service provider. See Configuring Inbound Authentication for a Service Provider for more information on how to do this.
Configuring the Playground2 web application
To obtain and configure the Playground sample, follow the steps below.
You can check out the repository of the OAuth 2.0 sample from GitHub. Follow the instructions here to checkout the folder. We refer <SAMPLE_HOME> as the modules/samples folder inside the folder where the product-is repository is checked out.
https://github.com/wso2/product-is/tree/v5.1.0/modules/samples/oauth2/playground2
In your command line, navigate to
<SAMPLE_HOME>/oauth2/playground2in the folder you checked out and build the sample using the following command. You must have Apache Maven installed to do this (see Installation Prerequisites for the appropriate version to use).mvn clean install
After successfully building the sample, a .
warfile named playground2 can be found inside the<SAMPLE_HOME>/oauth2/playground2/targetfolder. Deploy this sample web app on a web container. To do this, use the Apache Tomcat server.Since this sample is written based on Servlet 3.0 it needs to be deployed on Tomcat 7.x.
Use the following steps to deploy the web app in the web container:
- Stop the Apache Tomcat server if it is already running.
- Copy the
playground2.warfile to the<TOMCAT_HOME>/webappsfolder. - Start the Apache Tomcat server.
Make sure to update param-value the following parameter in the
WEB-INF/web.xmlfile with the server url of the Identity Server if required.<init-param> <description>serverUrl</description> <param-name>serverUrl</param-name> <param-value>https://localhost:9443/services/</param-value> </init-param>Note that
localhostis the server that hosts WSO2 Identity Server and9443is the default SSL port of it.Update param-value of below parameters with credentials of an admin user if required.
<init-param> <description>userName</description> <param-name>userName</param-name> <param-value>admin</param-value> </init-param> <init-param> <description>password</description> <param-name>password</param-name> <param-value>admin</param-value> </init-param>- Restart Apache Tomcat and access
http://localhost:8080/playground2/(assuming Tomcat is running on HTTP port 8080). You are directed to the landing page of the sample application. Click on Import Photos and the following page appears.
This application is used to request access tokens using the four OAuth2 grant types.
OAuth 2.0 Grant Types with WSO2 OAuth2 Playground
Running the application:
Visit the URL http://localhost:8080/playground2/oauth2.jsp to start the application.
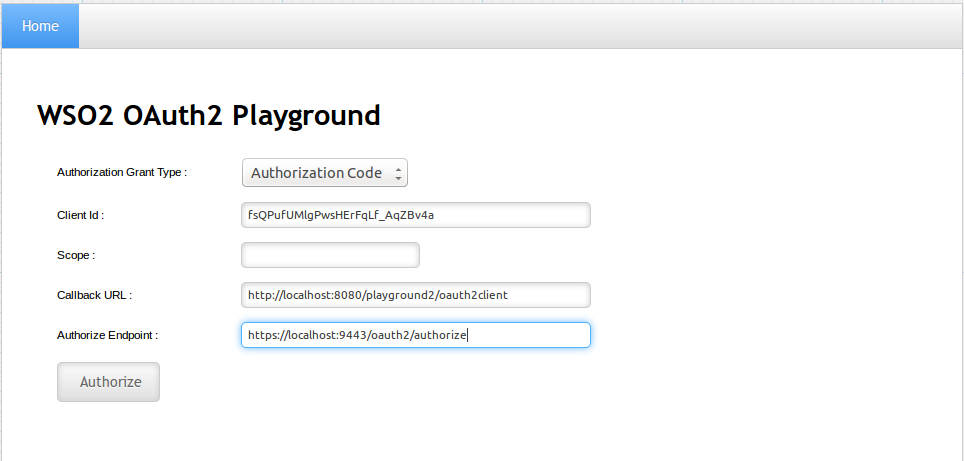
Enter the following details and click Authorize.
Authorization Grant Type: Authorization Code
Client ID: (the client id received at the application registration)
Callback URL: http://localhost:8080/playground2/oauth2client
Authorize Endpoint: https://localhost:9443/oauth2/authorizeLog in with the user credentials.
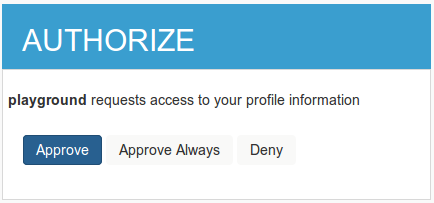
Click Approve to consent to this action.
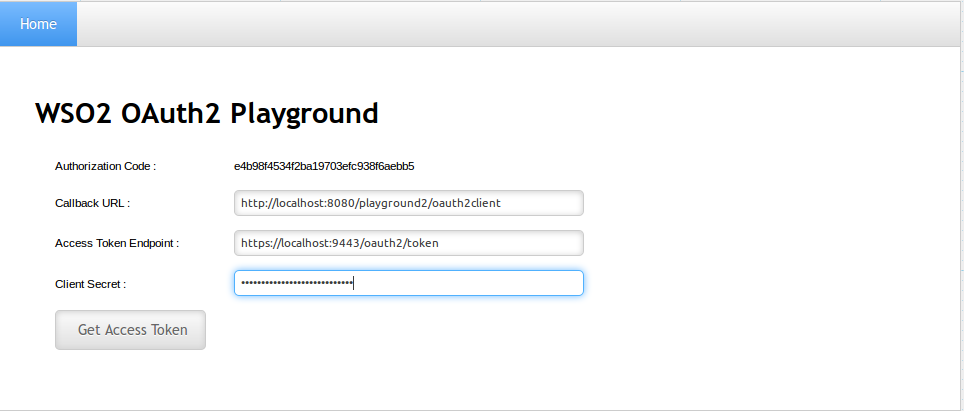
Provide the following details and click on Get Access Token.
Callback URL: http://localhost:8080/playground2/oauth2client
Access Token Endpoint: https://localhost:9443/oauth2/token
Client Secret: (client secret received at the application registration)If you have configured the service provider in a tenant, you have to add the tenant domain as a query parameter to the access token endpoint.
If the tenant domain is wso2.com, access token endpoint will be as follows.
Access Token Endpoint: https://localhost:9443/oauth2/token?tenantDomain=wso2.com
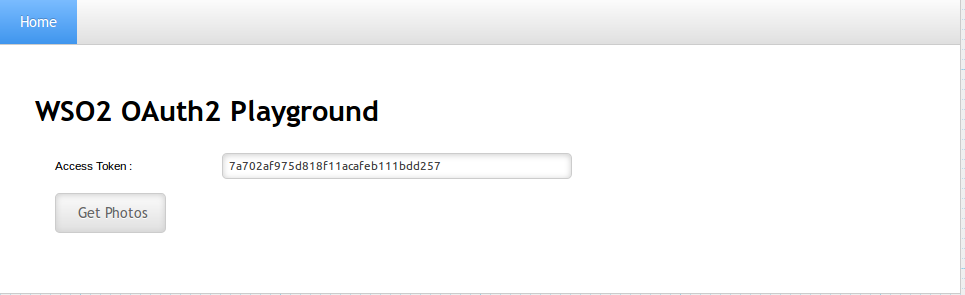
- At this point the application receives the Access Token.
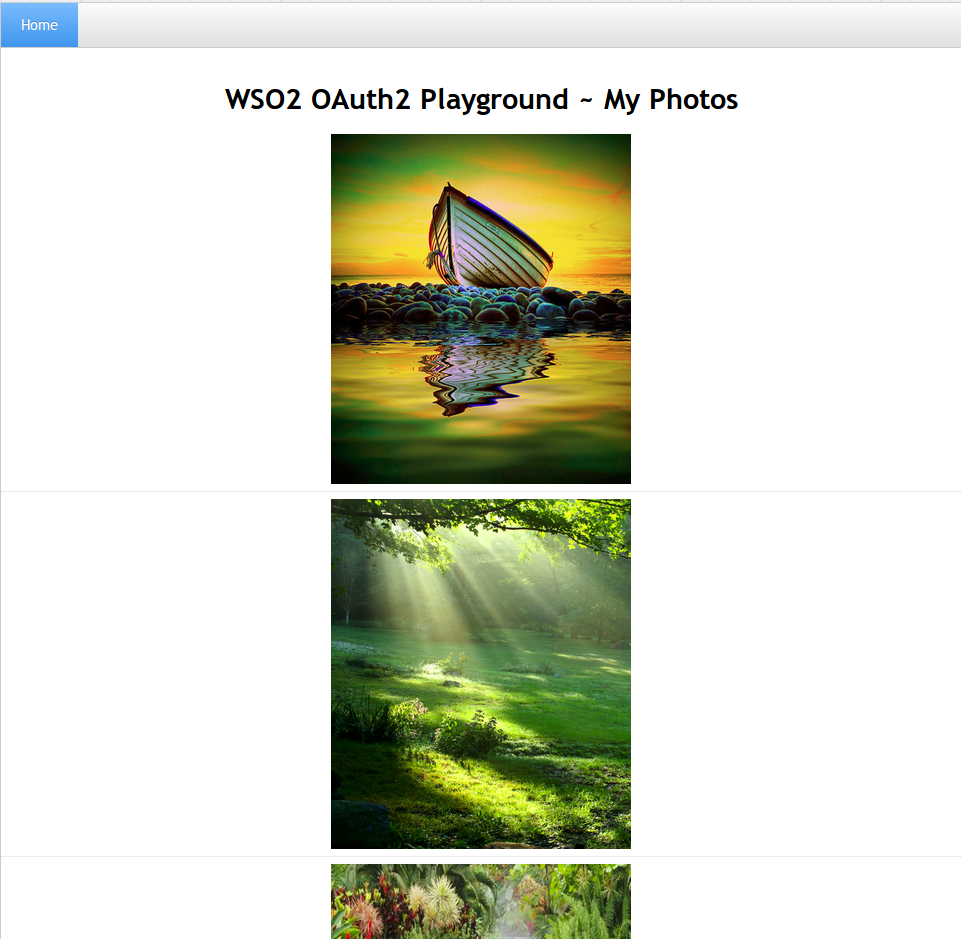
Click on Get Photos.
Now you should be able to see the user photos.

Running the application:
- Visit the URL http://localhost:8080/playground2/oauth2.jsp to start the application.
Enter the following details and click Authorize.
Authorization Grant Type: Implicit
Client ID: (the client id received at the application registration)
Callback URL: http://localhost:8080/playground/oauth2client
Authorize Endpoint: https://localhost:9443/oauth2/authorizeIf you have configured the service provider in a tenant, you have to add the tenant domain as a query parameter to the authorize endpoint.
If the tenant domain is wso2.com, authorize endpoint will be as follows.
Authorize Endpoint: https://localhost:9443/oauth2/authorize?tenantDomain=wso2.com

- Log in with the user.
- Click Approve to consent to this action.
- At this point the application receives the Access Token.
- Click on Get Photos.
Now you should be able to see the user photos.
Running the application:
- Visit the URL http://localhost:8080/playground2/oauth2.jsp to start the application.
Enter the following details and click Authorize.
Authorization Grant Type: Resource Owner
Client ID: (the client id received at the application registration)
Client Secret: (client secret received at the application registration)
Resource Owner User Name: (username)
Resource Owner Password: (password of the user)
Authorize Endpoint: https://localhost:9443/oauth2/tokenIf you have configured the service provider in a tenant, you have to add the tenant domain as a query parameter to the access token endpoint.
If the tenant domain is wso2.com, access token endpoint will be as follows.
Access Token Endpoint: https://localhost:9443/oauth2/token?tenantDomain=wso2.com

- At this point the application receives the Access Token.

- Click on Get Photos.
Now you should be able to see the user photos.
Running the application:
- Visit the URL http://localhost:8080/playground2/oauth2.jsp to start the application.
Enter the following details and click Authorize.
Authorization Grant Type: Client Credentials
Client ID: (the client id received at the application registration)
Client Secret: (client secret received at the application registration)
Authorize Endpoint: https://localhost:9443/oauth2/authorizeIf you have configured the service provider in a tenant, you have to add the tenant domain as a query parameter to the access token endpoint.
If the tenant domain is wso2.com, access token endpoint will be as follows.
Access Token Endpoint: https://localhost:9443/oauth2/token?tenantDomain=wso2.com

- At this point the application receives the Access Token.
- Click on Get Photos.
Now you should be able to see the user photos.