This site contains the documentation that is relevant to older WSO2 product versions and offerings.
For the latest WSO2 documentation, visit https://wso2.com/documentation/.
Try Authorization Code Grant
- Former user (Deleted)
- Former user (Deleted)
- Former user (Deleted)
The Authorization Code Grant is one of the grant types in the OAuth 2.0 specification. For more information about this grant type, see Authorization Code Grant.
Before you begin, you must first set up the sample webapp.
This section demonstrates the Authorization Code Grant with PKCE and without PKCE.
The Proof Key for Code Exchange (PKCE) is a specification supported by WSO2 Identity Server to mitigate code interception attacks. See Mitigating Authorization Code Interception Attacks to configure PKCE for an OAuth application.
Running the application (without PKCE)
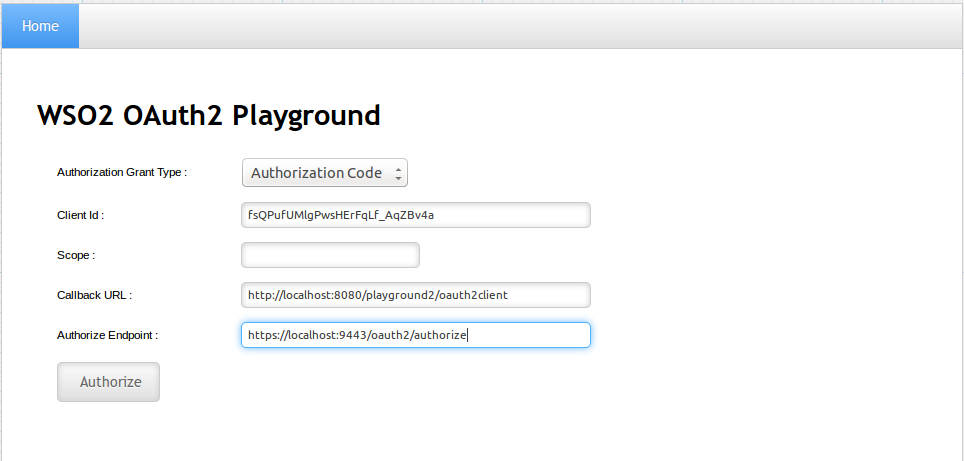
Visit the URL http://localhost:8080/playground2/oauth2.jsp to start the application.
Enter the following details and click Authorize .
Authorization Grant Type: Authorization Code
Client ID: (the client id received at the application registration)
Callback URL: http://localhost:8080/playground2/oauth2client
Authorize Endpoint: https://localhost:9443/oauth2/authorize
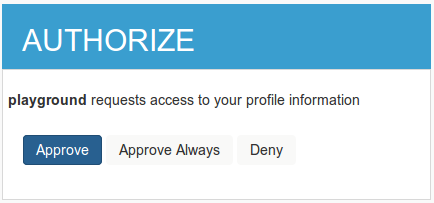
Log in with the user credentials.
Click Approve to consent to this action.
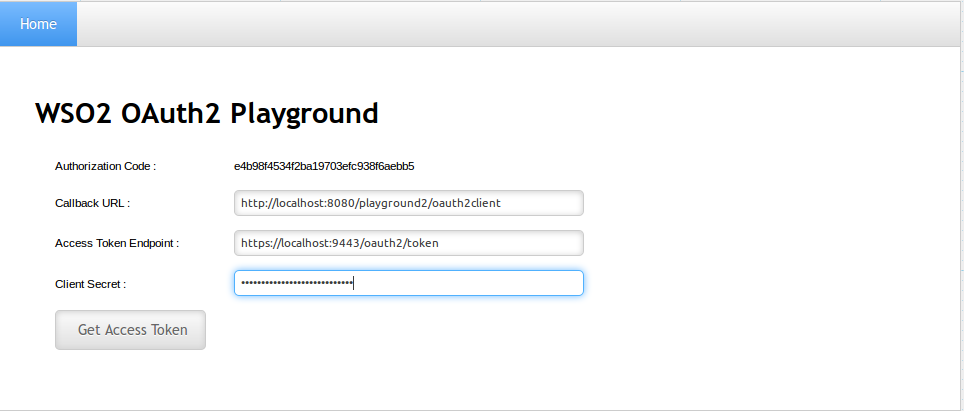
Provide the following details and click on Get Access Token.
Callback URL: http://localhost:8080/playground2/oauth2client
Access Token Endpoint: https://localhost:9443/oauth2/token
Client Secret: (client secret received at the application registration)If you have configured the service provider in a tenant, you have to add the tenant domain as a query parameter to the access token endpoint.
If the tenant domain is wso2.com, access token endpoint will be as follows.
Access Token Endpoint: https://localhost:9443/oauth2/token?tenantDomain=wso2.com
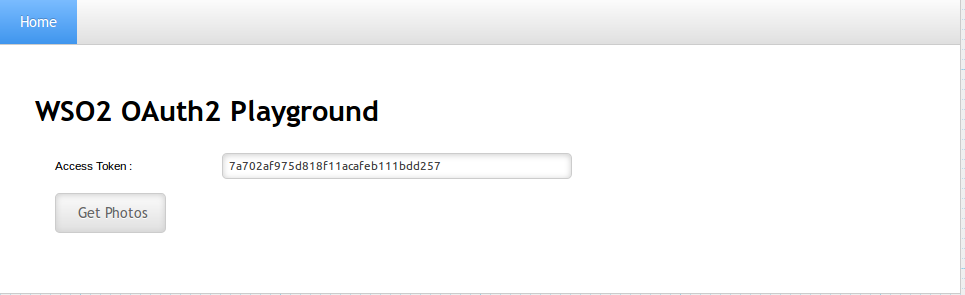
- At this point the application receives the Access Token .
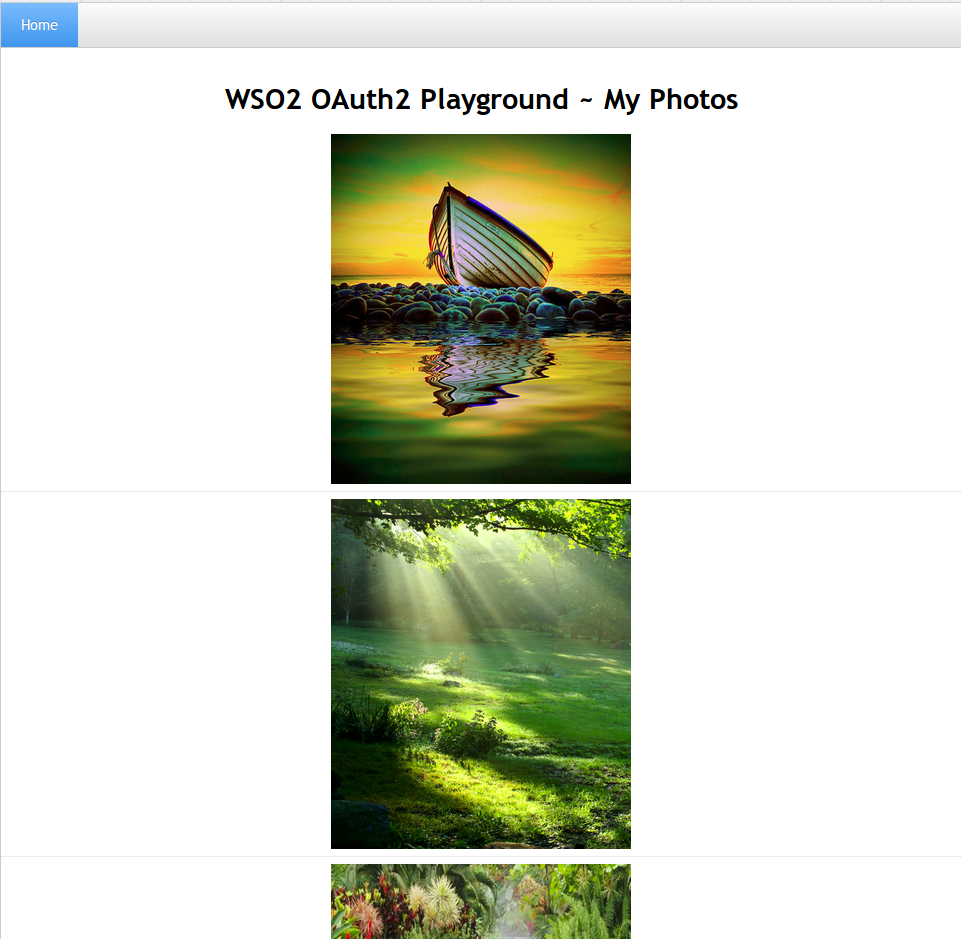
Click on Get Photos.
Now you should be able to see the user photos.

Running the application (with PKCE)
Visit the URL http://localhost:8080/playground2/oauth2.jsp to start the application.
Enter the following details and click Authorize.
Authorization Grant Type: Authorization Code
Client ID: (the client id received at the application registration)
Callback URL: http://localhost:8080/playground2/oauth2client
Authorize Endpoint: https://localhost:9443/oauth2/authorize
Use PKCE: Yes
PKCE Challenge Method:
Log in with the user credentials.
Click Approve to consent to this action.
Provide the following details and click on Get Access Token.
Callback URL: http://localhost:8080/playground2/oauth2client
Access Token Endpoint: https://localhost:9443/oauth2/token
Client Secret: (client secret received at the application registration)
PKCE Verifier: (this will be populated using the value generated in step 1)If you have configured the service provider in a tenant, you have to add the tenant domain as a query parameter to the access token endpoint.
If the tenant domain is wso2.com, access token endpoint will be as follows.
Access Token Endpoint: https://localhost:9443/oauth2/token?tenantDomain=wso2.com

- At this point the application receives the Access Token .
Click on Get Photos.
Now you should be able to see the user photos.

- See Mitigating Authorization Code Interception Attacks for more information about using PKCE with an OAuth application.